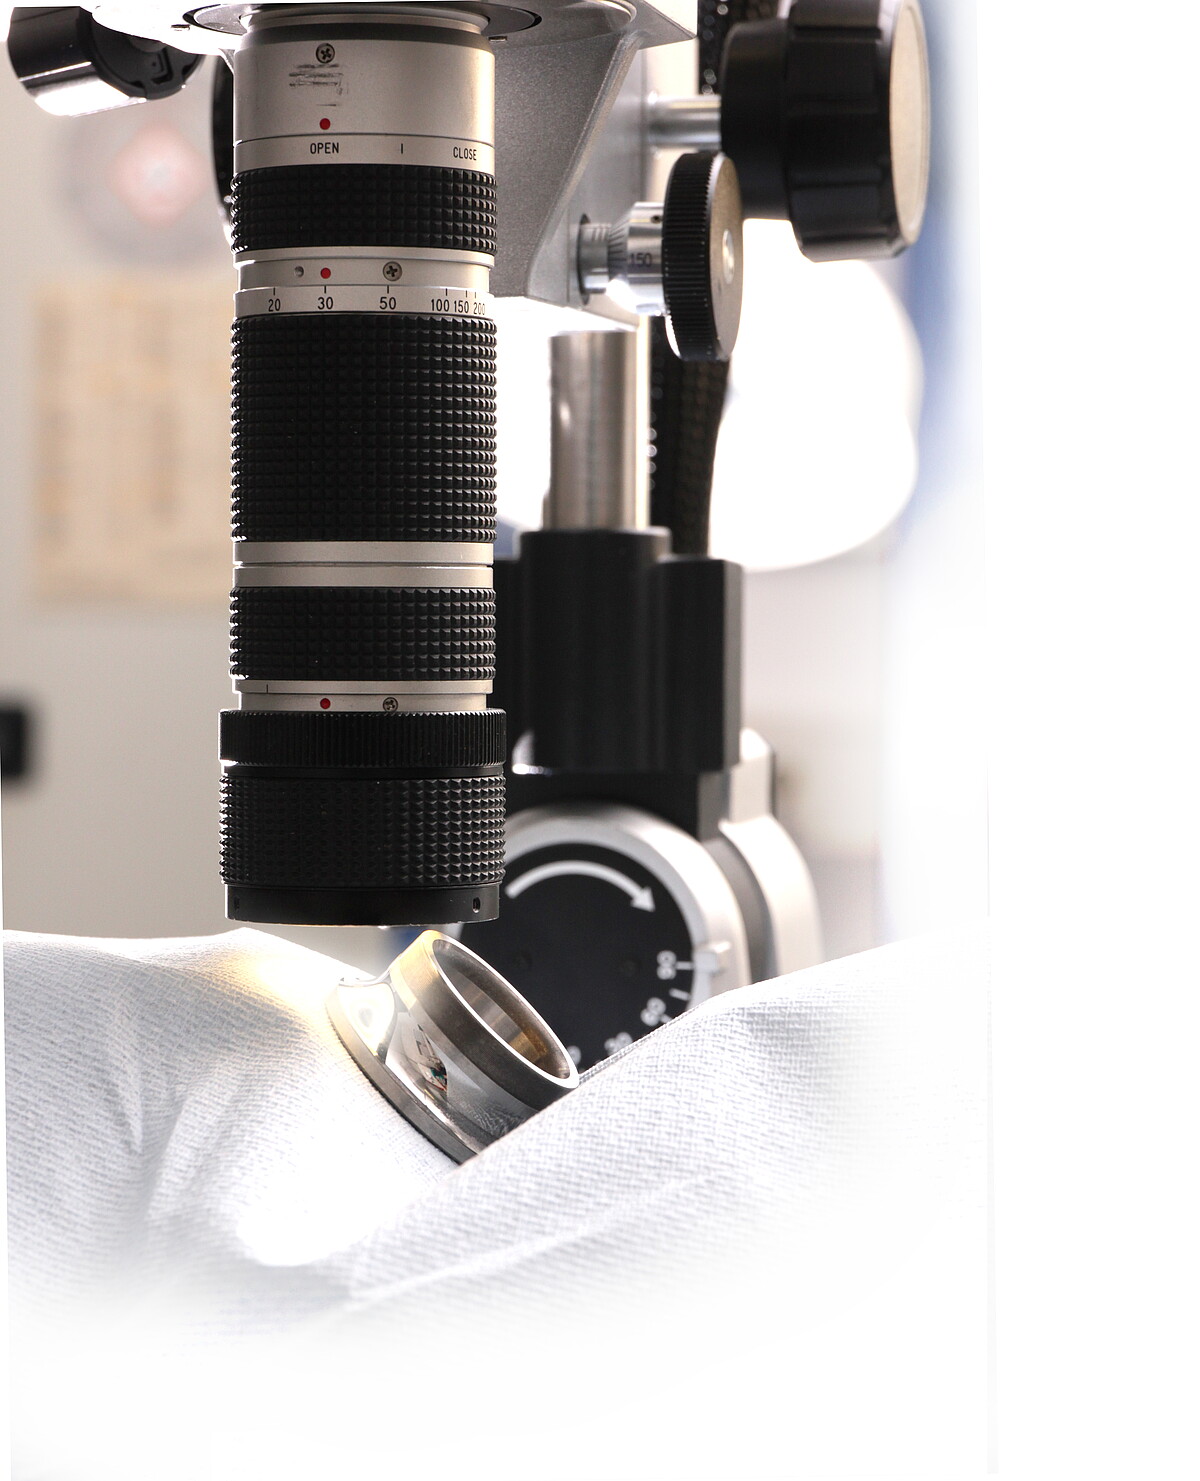
The transition to experimental testing technology is sometimes fluid. For example, the tribological conditions of real components are investigated in a highly abstracted and in-depth manner on model test rigs. Due to the fundamental character of the investigations, individual setups and procedures from the experimental test technology can also be assigned to the laboratory area. In addition, the IMKT also has various measuring instruments with which investigations can be carried out. These include various microscopes with the help of which geometry measurements can be carried out and 3D surface information can be digitally recorded in addition to the optical assessment. The surface condition can additionally be examined tactilely with several roughness measuring devices. A roundness measuring device is part of the laboratory equipment for examining the shape of components.
The condition inside components, e.g. for the detection of defects or changes in the material, can be recorded non-destructively with the aid of an ultrasonic microscope. For metallographic examinations or the measurement of cross-sections of elastic components, sample grinding equipment and embedding systems are available.
Lubricants can be analyzed in the laboratory with regard to their composition or standardized parameters (e.g. bleeding behavior or consistency of lubricating greases), among other things.


Some of the test methods can be integrated into the IMKT's component test rigs or used on a mobile basis to perform analyses on site, e.g. on very large components. If necessary, individual laboratory tests can also be carried out in one of the institute's climate chambers.
The IMKT is closely networked with other research institutes and laboratories with whose help further investigation methods can be applied.
Contact us


30823 Garbsen


